The Difference Between Annuals and Perennials: Which is Best for Your Garden?
March 31, 2022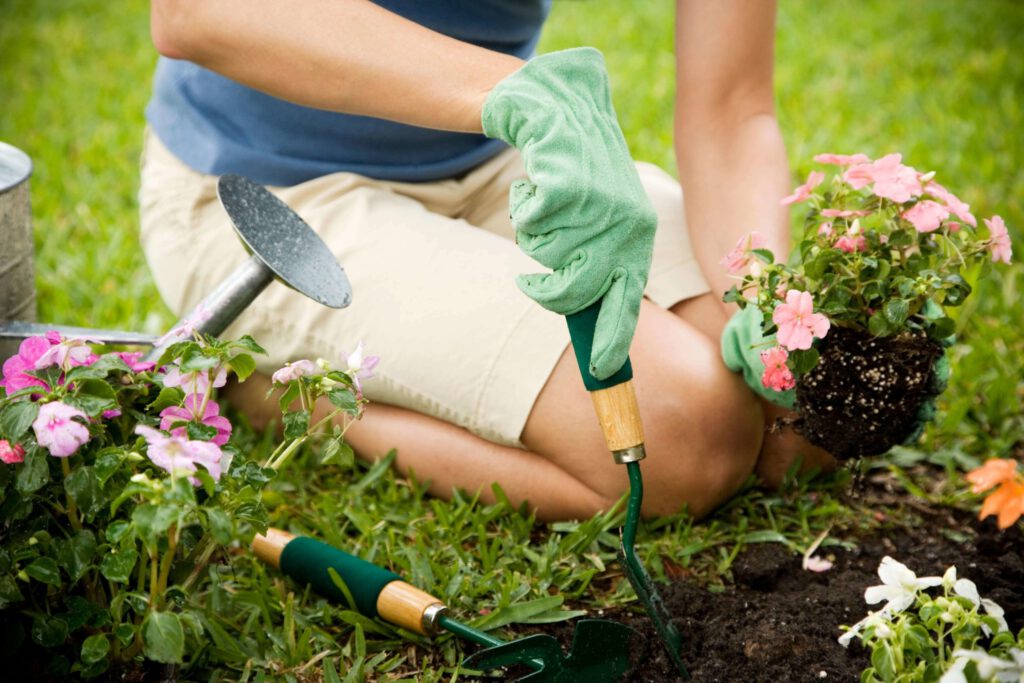
Creating your own garden is one of the greatest perks of being a homeowner, but knowing which flowers or plants to choose can be overwhelming due to the number of options available to you. In this blog, we’ll review the difference between annuals and perennials, as well as how to successfully plant them in your garden.
What is an Annual Plant?
The main difference between annuals and perennials is their life cycles. An annual is a garden flower that completes its life cycle in one growing season. In simpler terms, when you plant the flower seed in the spring, it grows, then flowers, and eventually dies before the first frosts in fall.
Learning when to plant annuals will depend on their classification. Annual flowers can be broken down into categories based on their tolerance to withstand cold temperatures:
- Hardy annuals– these can tolerate cold soil, cool air, and light frosts without being damaged. You can typically plant these types about four weeks prior to the frost-free date in your area.
- Half-hardy annuals– these can tolerate cold soil and cool air but will be damaged by light frosts. You can plant these about two weeks prior to the frost-free date in your area.
- Tender annuals– these need warm soil and warm air. They don’t tolerate any frost or cool temperatures. You can plant these about two weeks after the last free frost in your area.
Understanding the types of annuals can be useful to gardeners because it allows them to extend their gardening season depending on the last frost in spring and the first frost in fall.
4 Annuals to Plant for Beginners
There are many different varieties of annuals to choose from. Below, we’ve listed a few of the most common annuals for beginners to plant in their gardens.
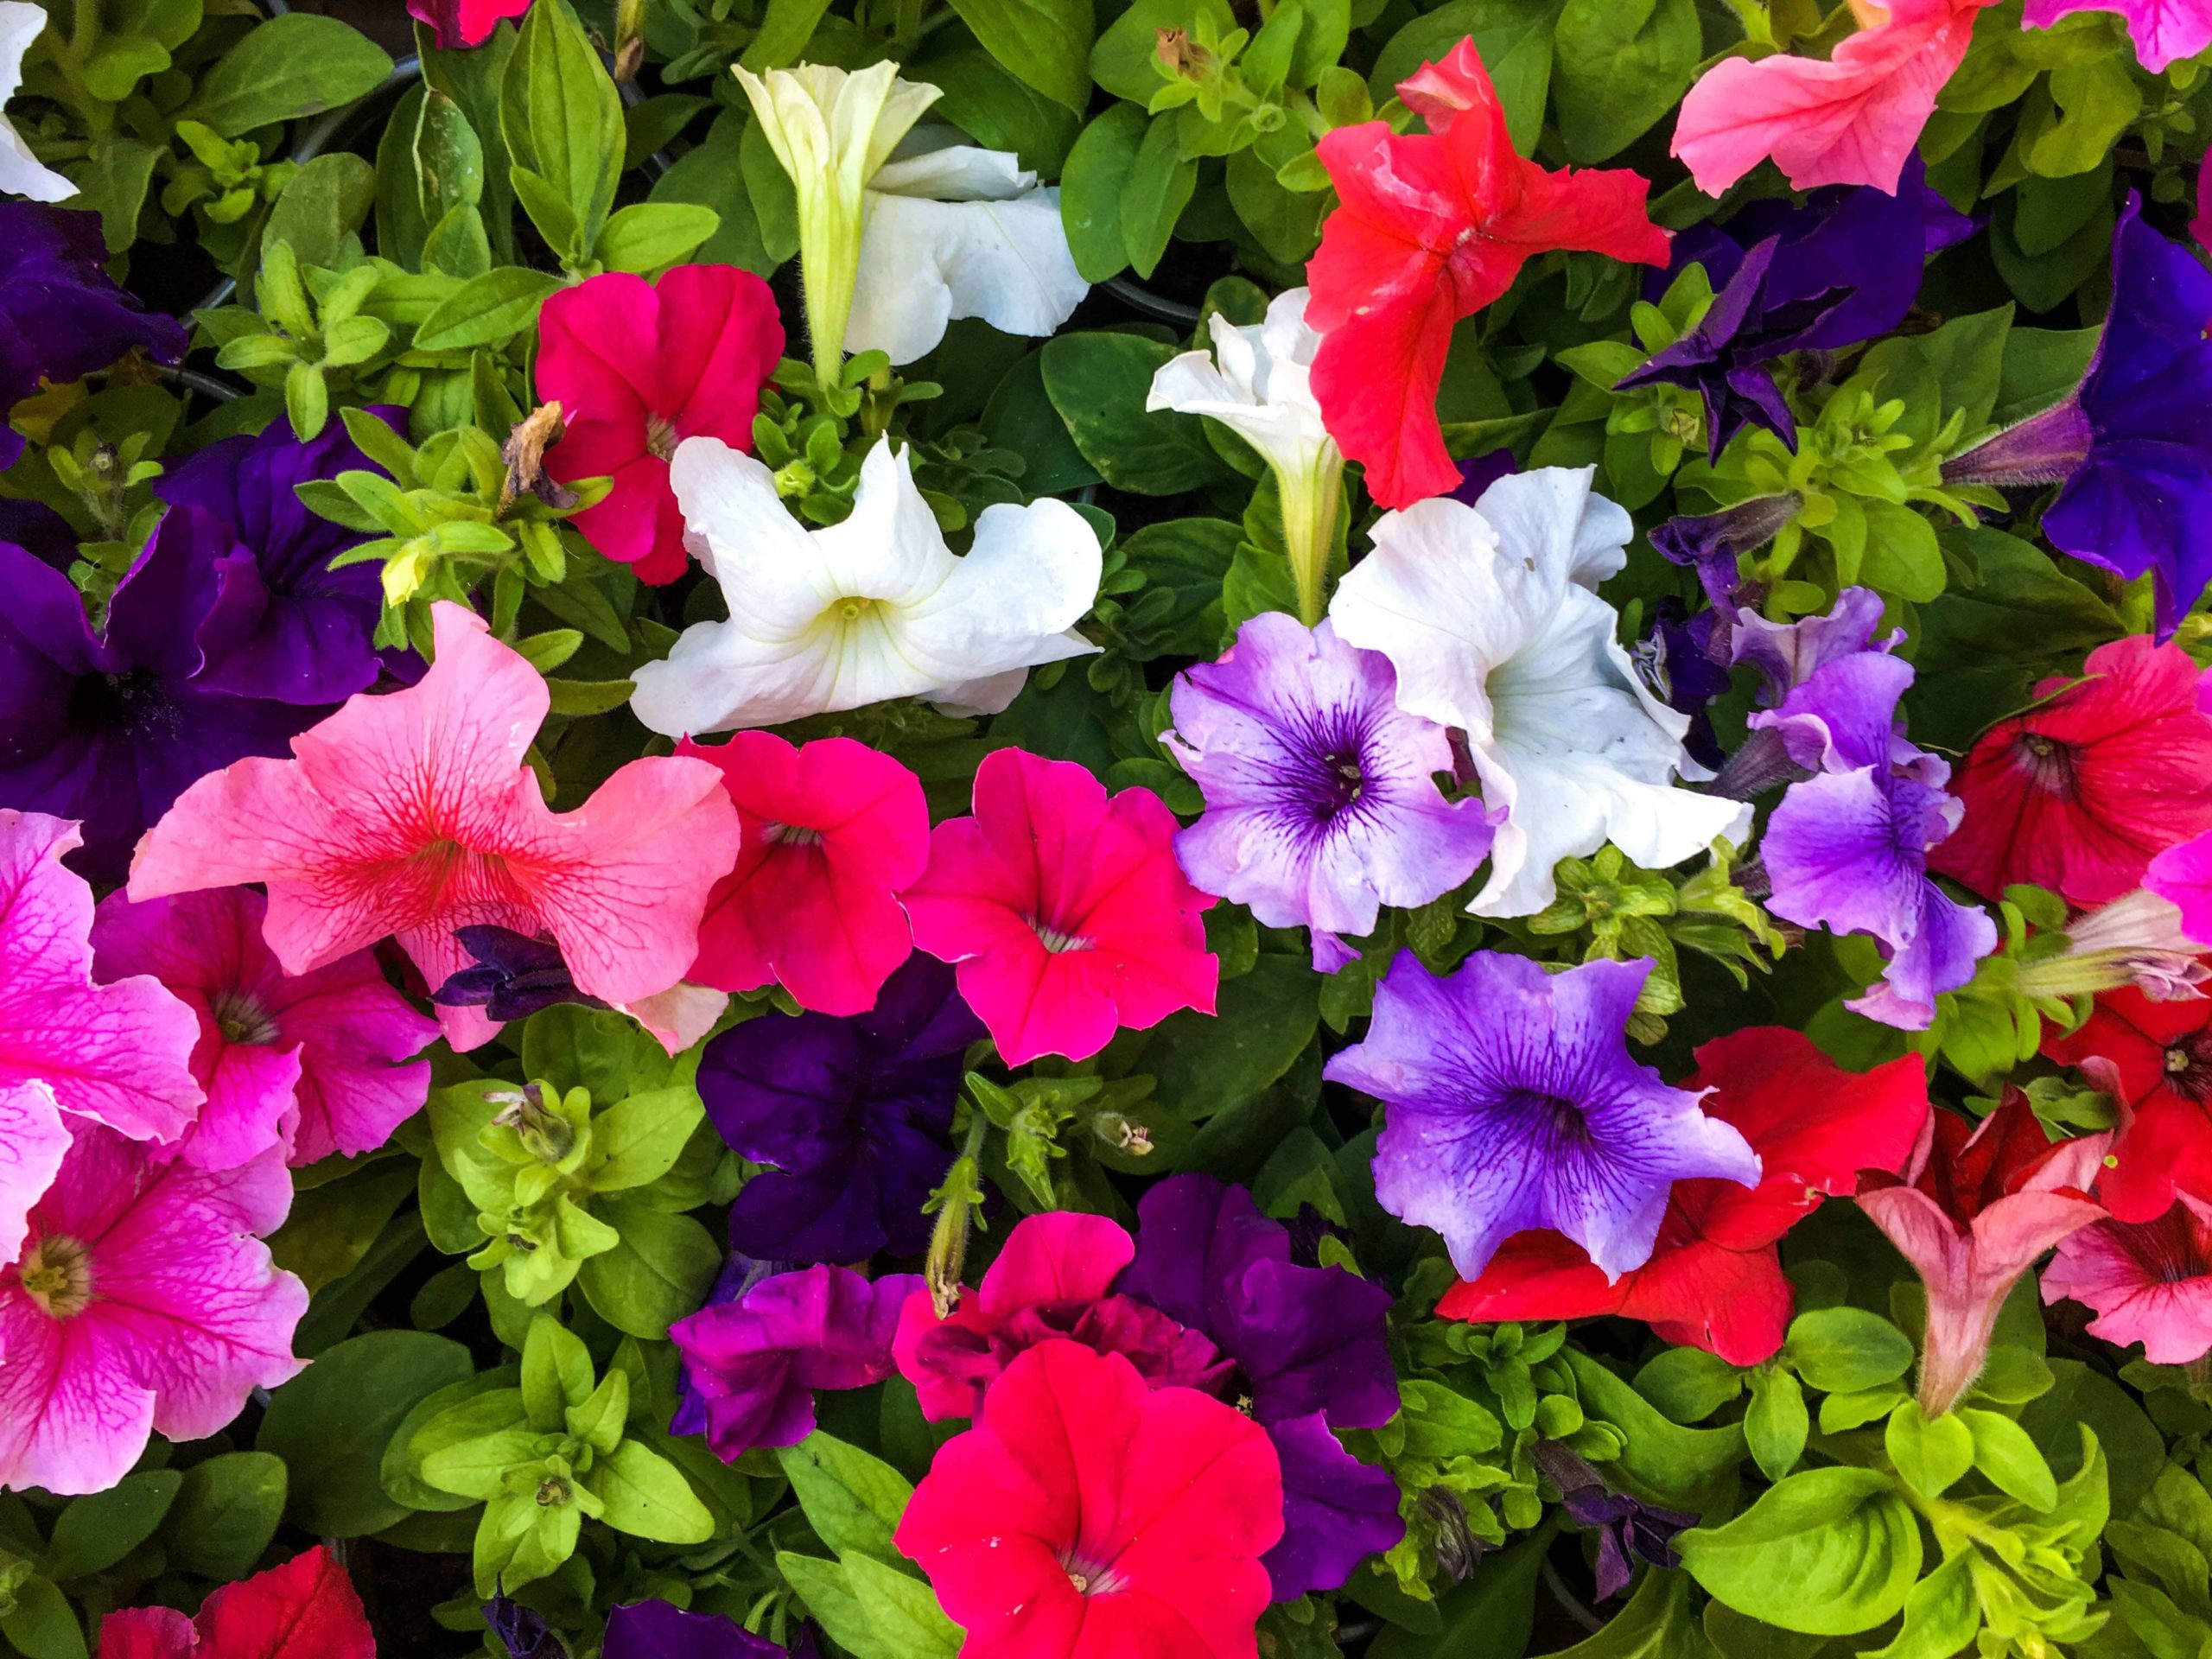
Petunias
Petunias are one of the most popular flowering annuals for the sun. They’re also great for beginning gardeners because they are low maintenance and bloom heavily.
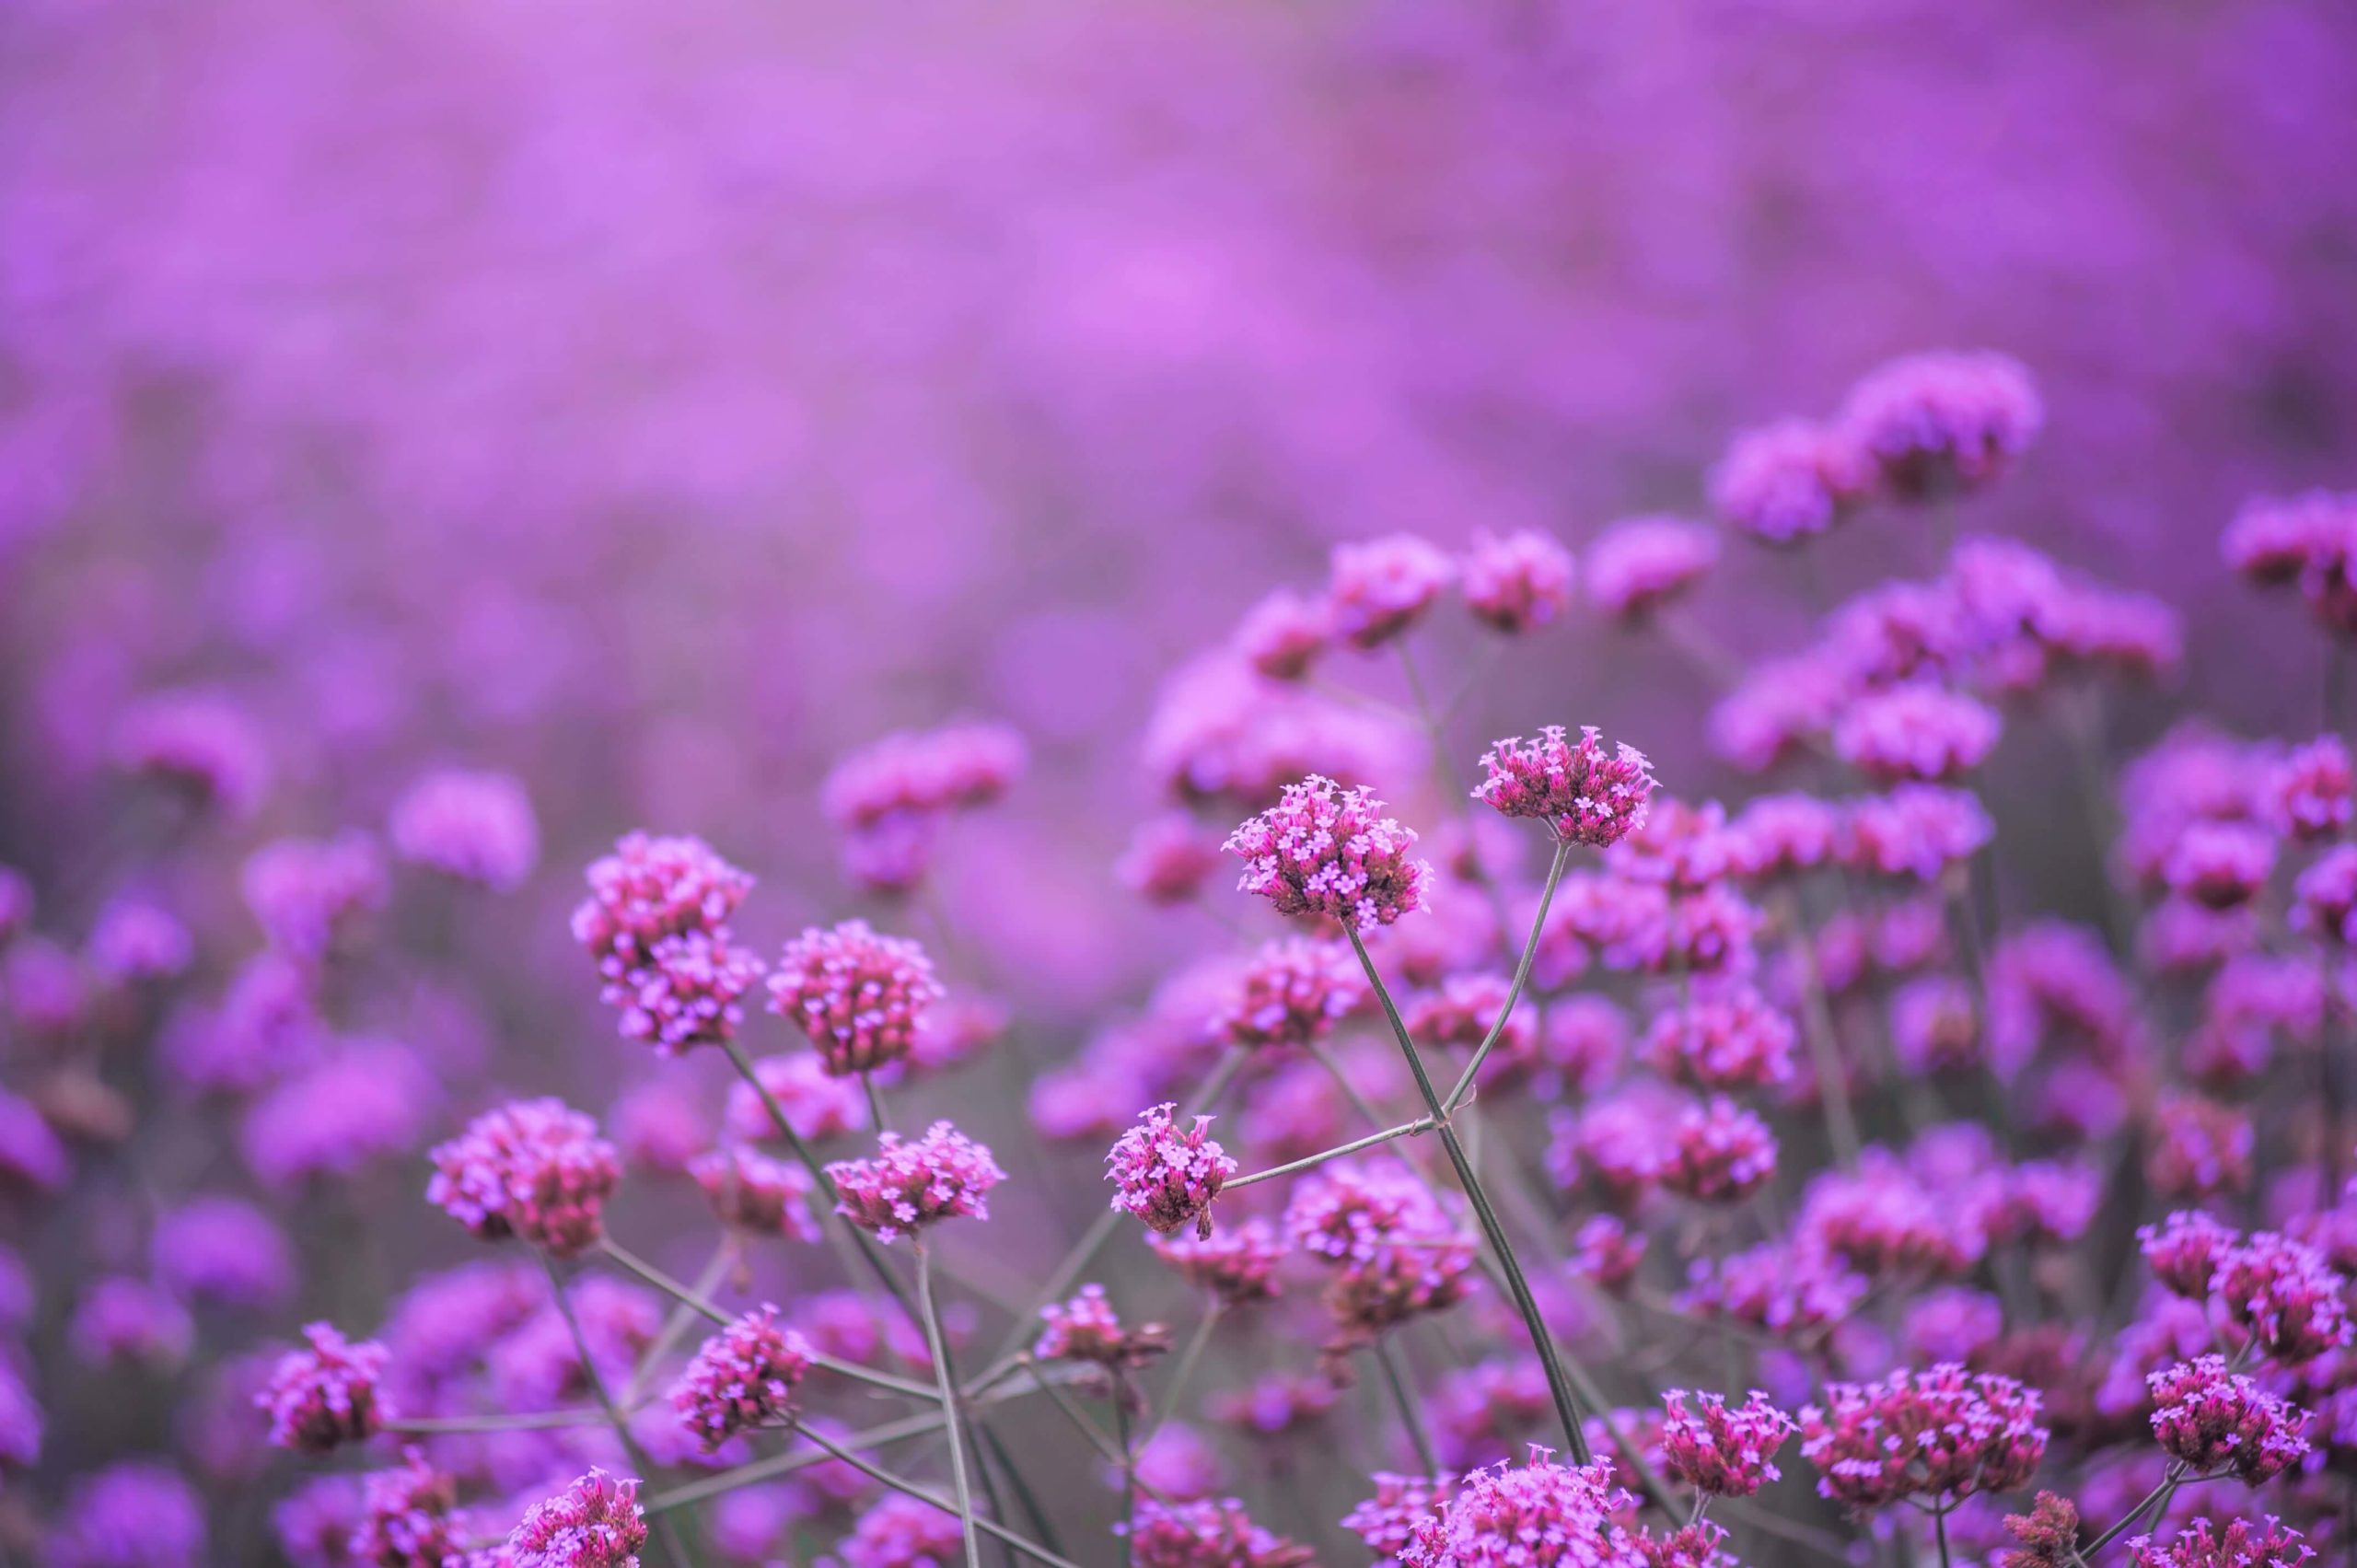
Verbenas
Verbenas are sun-loving blooms that come in a variety of colors. Their trailing habit and large flower clusters make them great for ground cover or as a spiller in a container.
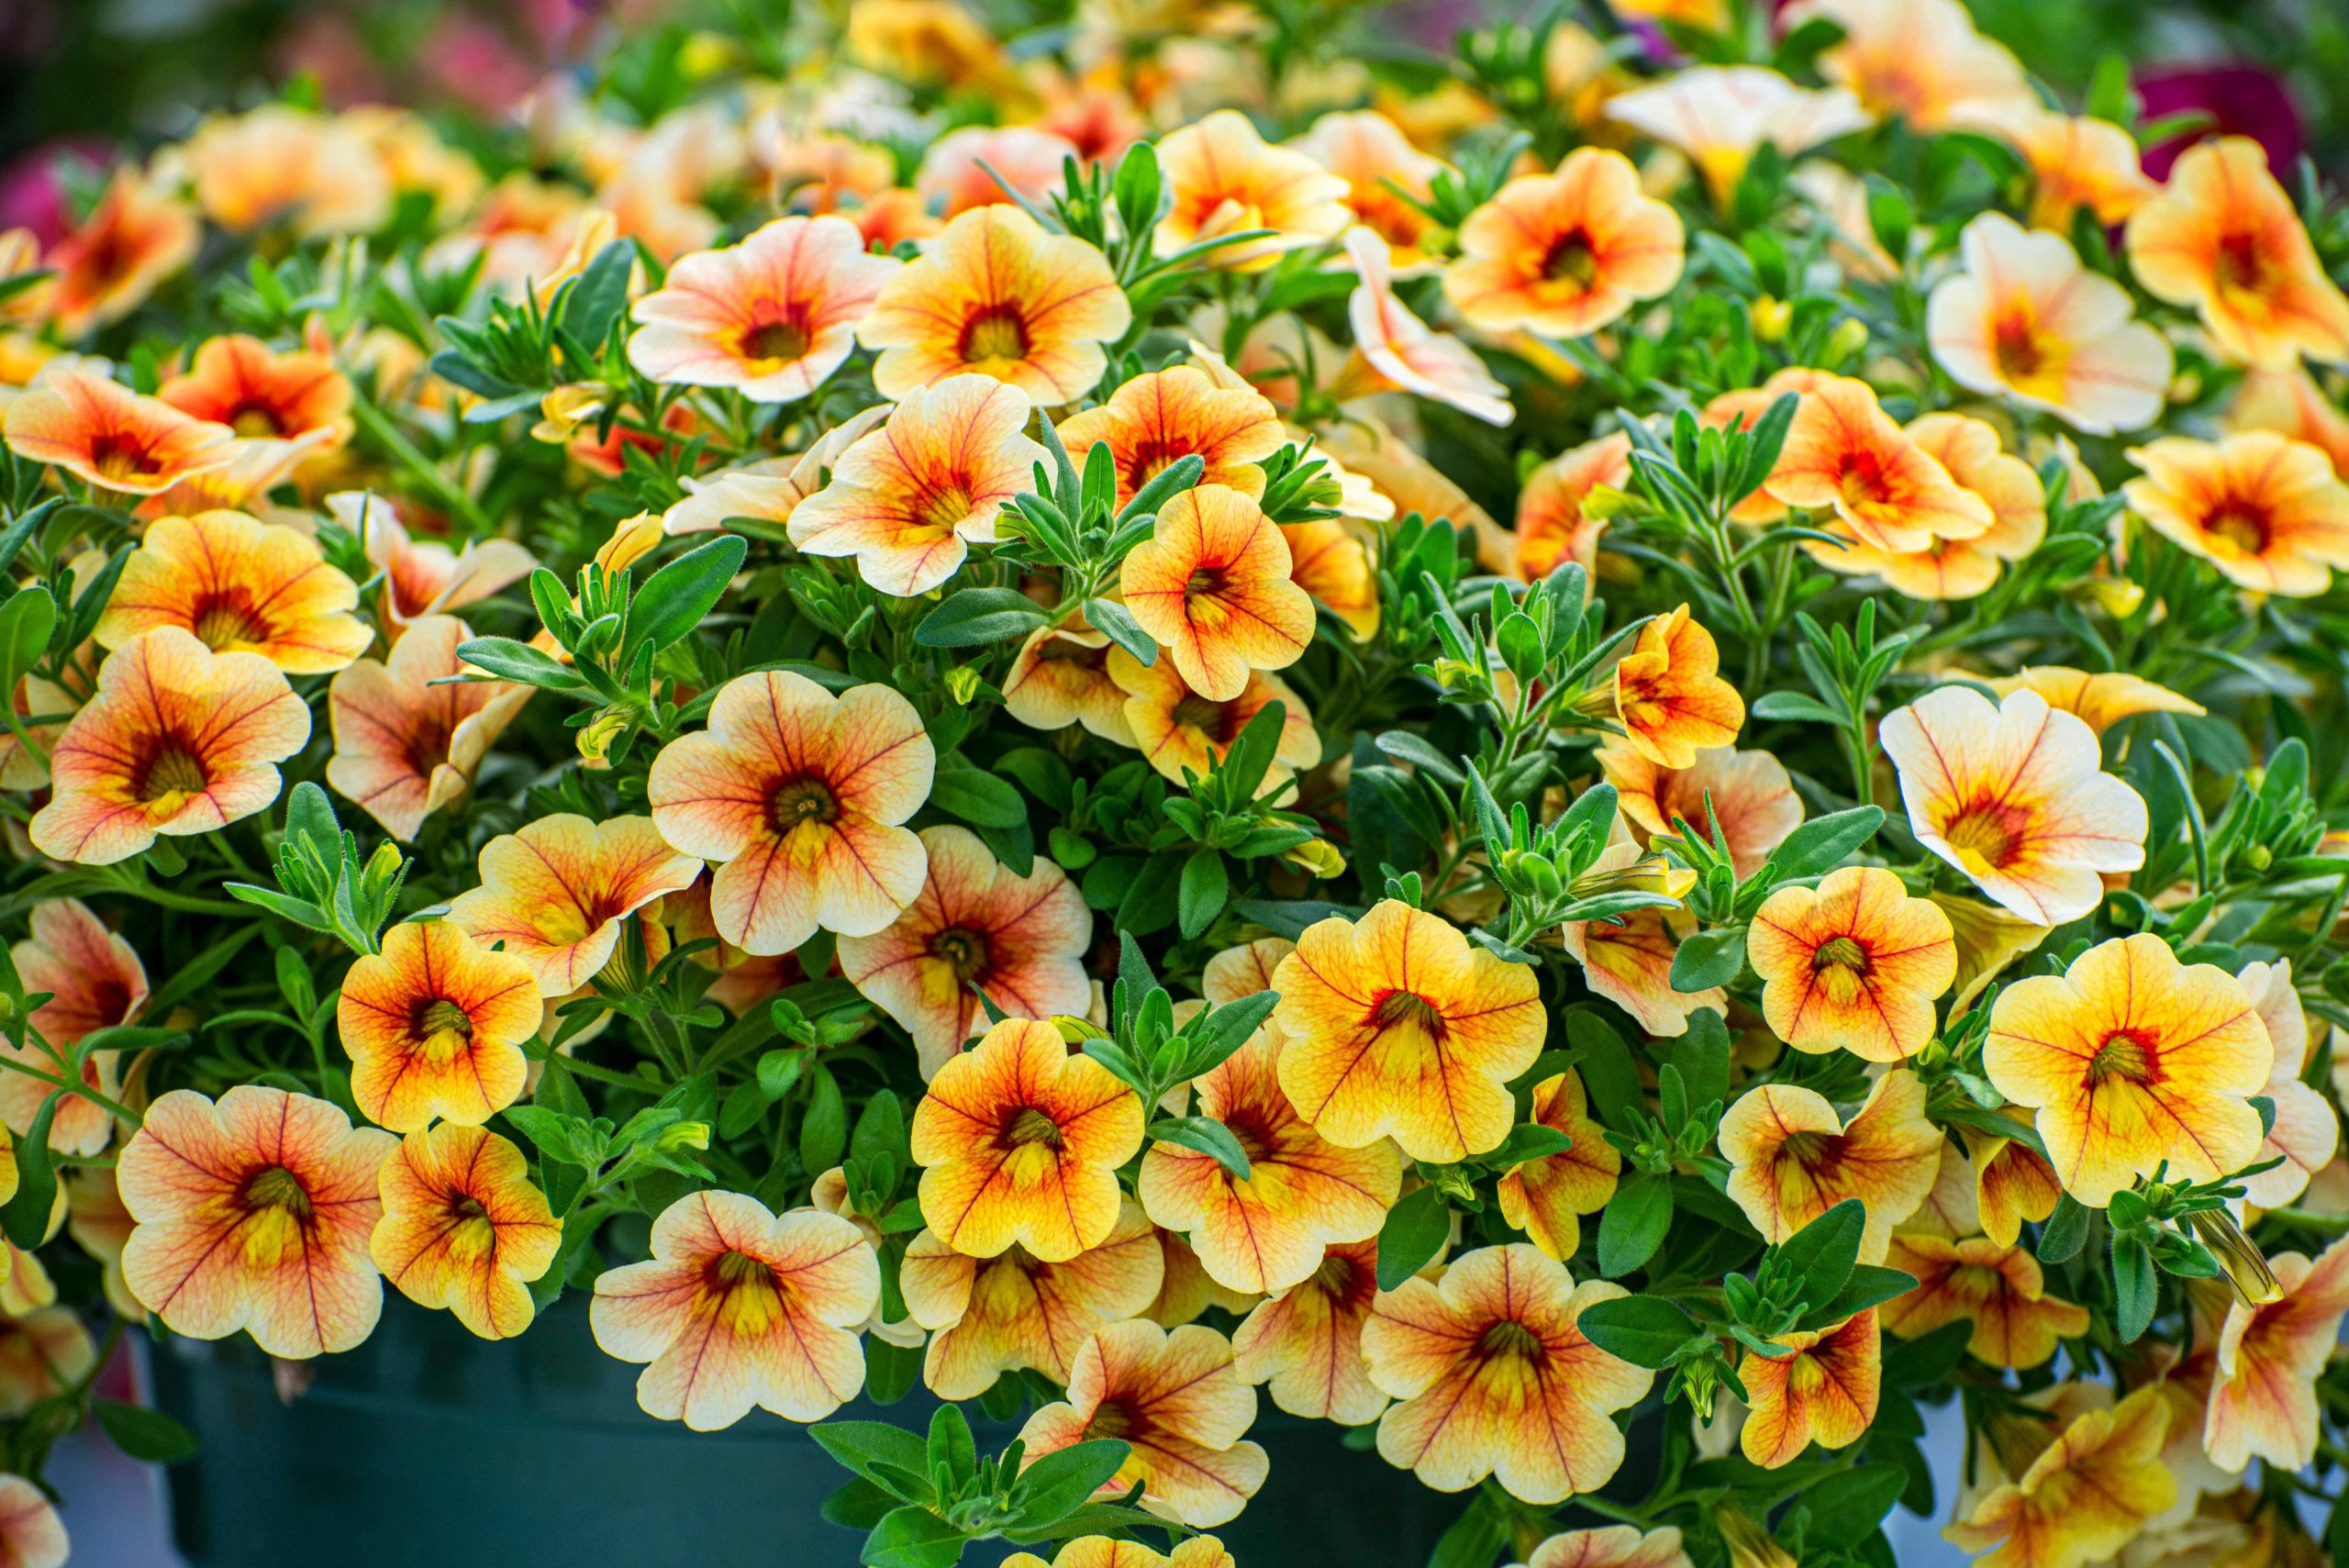
Calibrachoas
Calibrachoas are best suited for growing in containers or raised garden beds because they require good drainage. They love the sun and will bloom until the first hard frost.
Zinnias
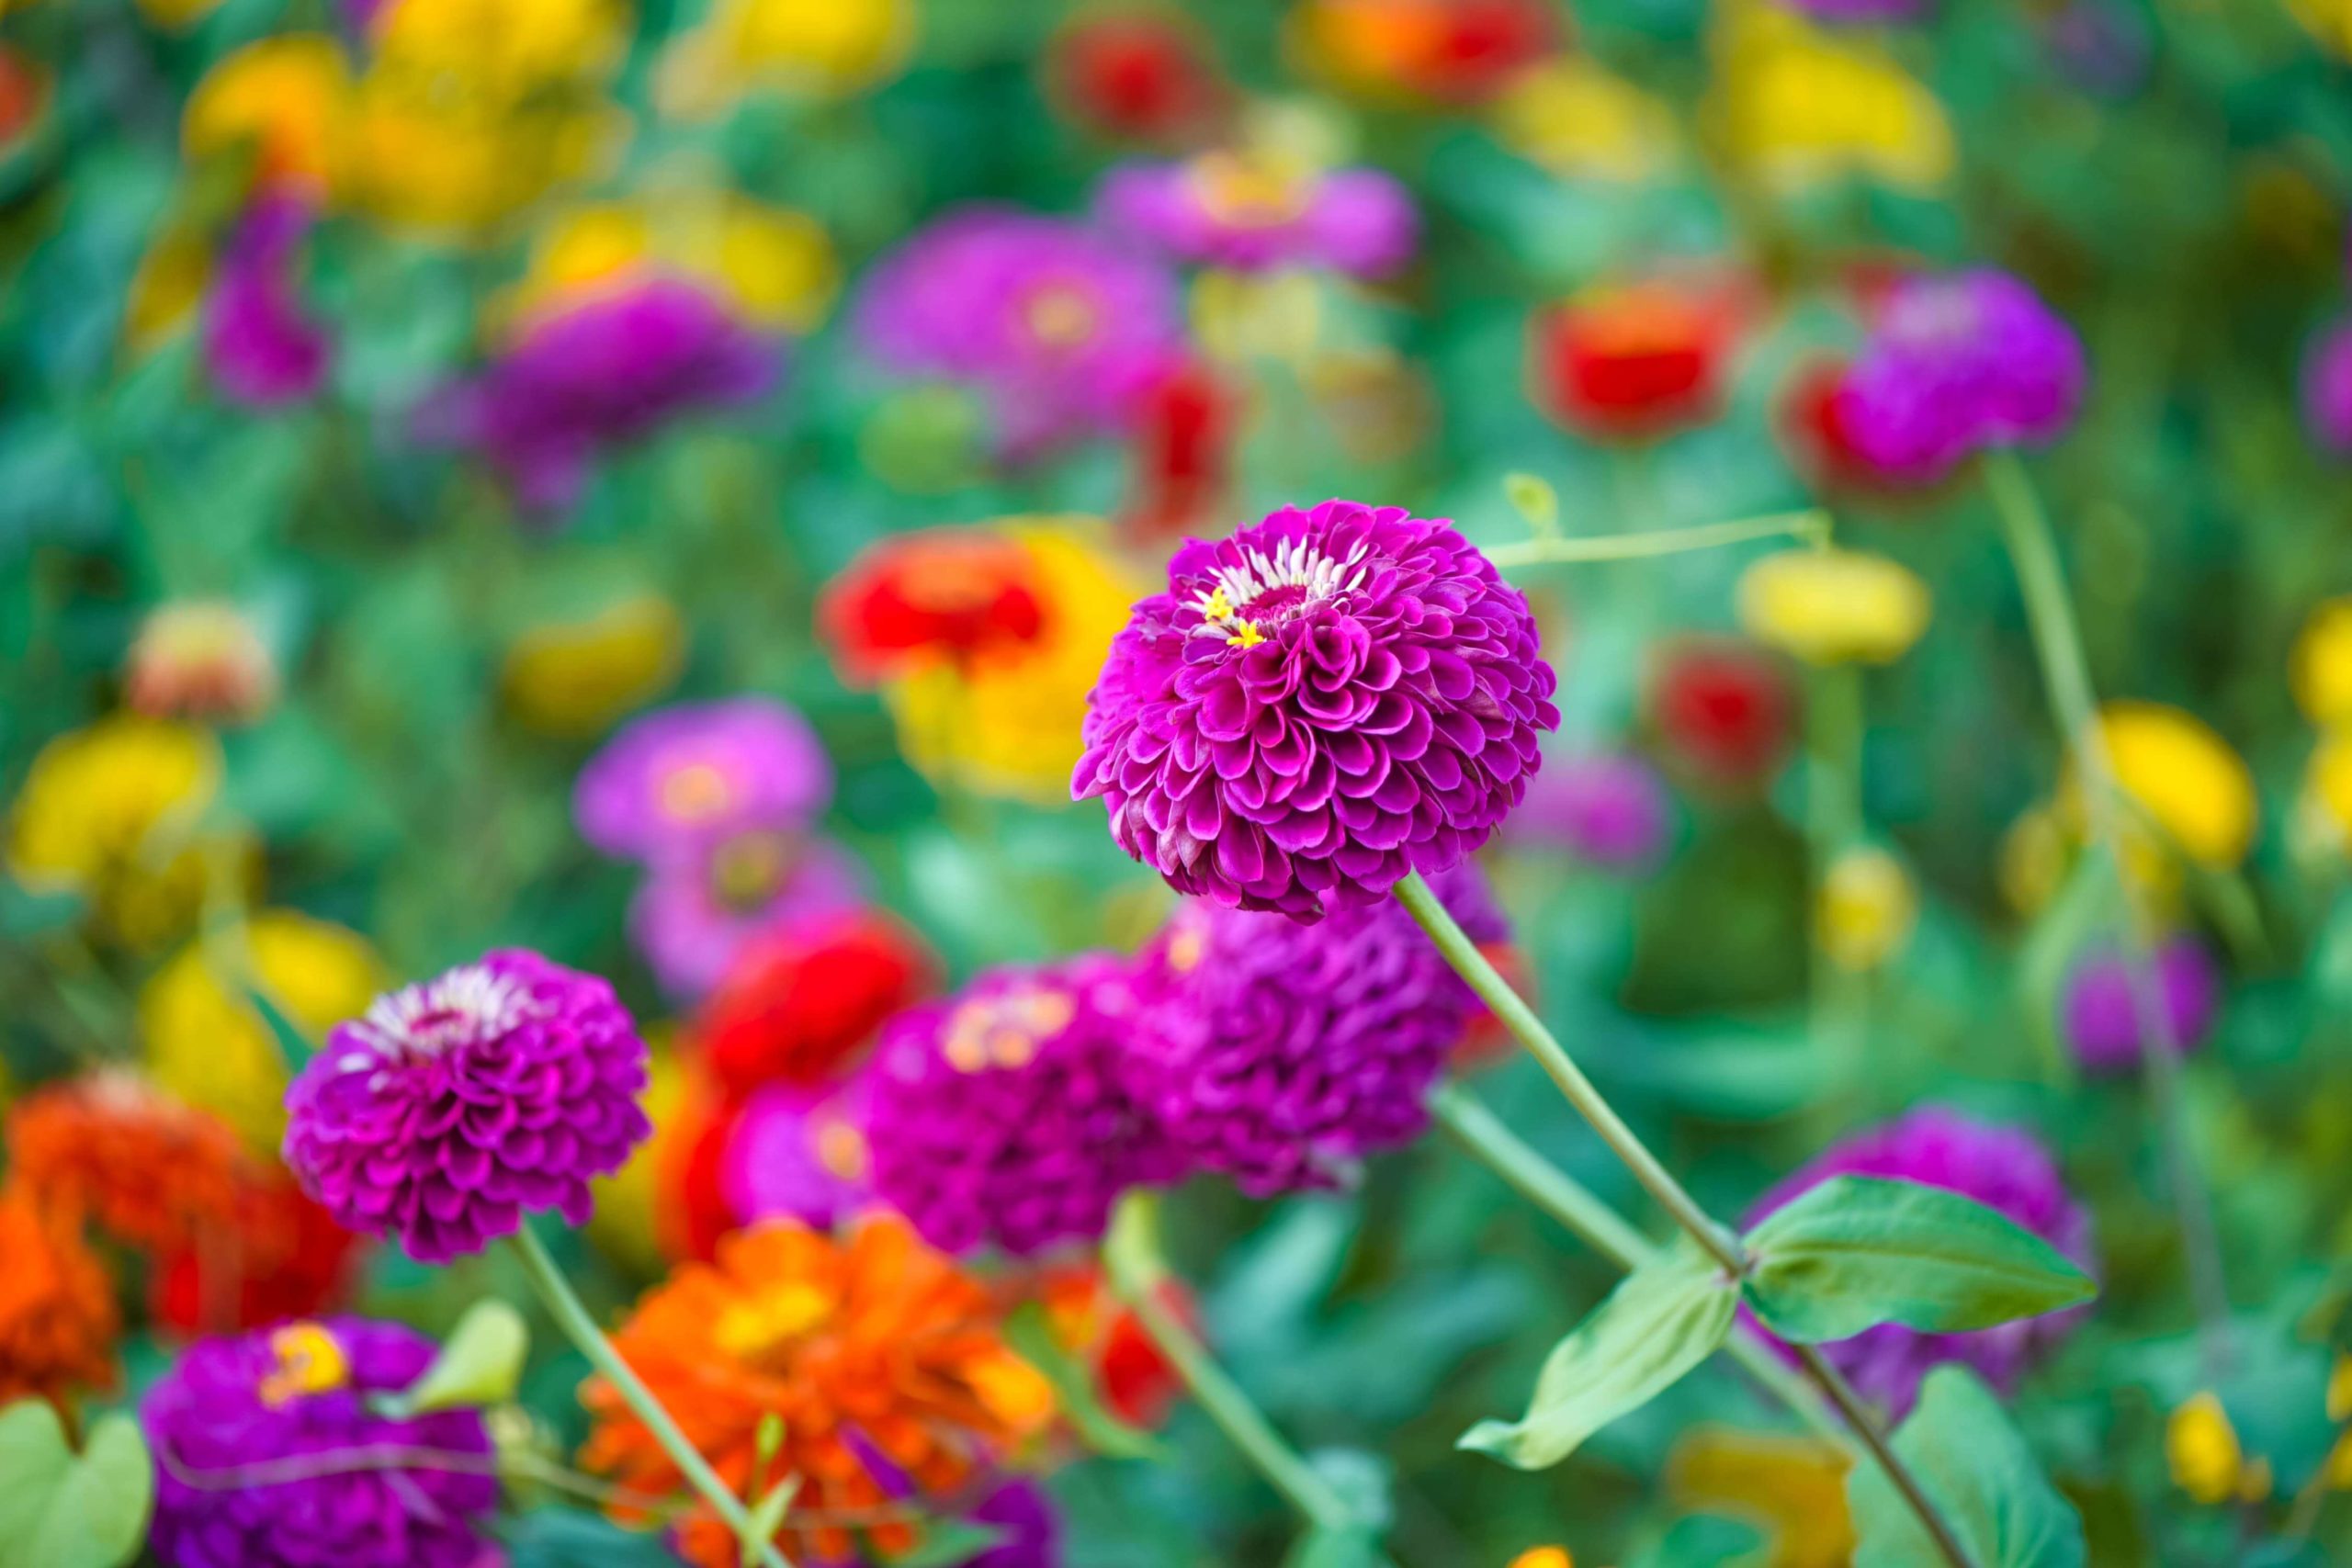
Zinnias are flowers that bring a variety of colors to window boxes, planters, gardens, and flower arrangements. They’re also a favorite because they attract hummingbirds and butterflies.
What is a Perennial Plant?
Perennials are flowers that come back every year. These plants are cold-hearty and go dormant during the winter before returning each spring. Perennial flowers typically last three years or longer, however, some don’t last more than two.
Heartiness is a significant difference between annuals and perennials. While perennials are much heartier than annuals, you still should pay attention to where and when you’re planting them. Certain perennials, like hostas, are great in shady areas, whereas others, like peonies, require plenty of sunlight.
The key to growing a beautiful perennial garden is to choose varieties that will bloom at different times. That way, you’ll have a pop of color all throughout the spring and summer seasons. Here are some perennial varieties and the best time to plant them:
- June and early summer – astilbe, coneflowers, coreopsis
- July and summer -hosta, Russian sage
- August and late summer – black-eyed Susan, asters
- May and spring – peonies, salvia
4 Perennials to Plant for Beginners
Just like annuals, there are a ton of varieties of perennials you can choose from. Below, we’ve listed a few of the most popular types we recommend to first-time gardeners.
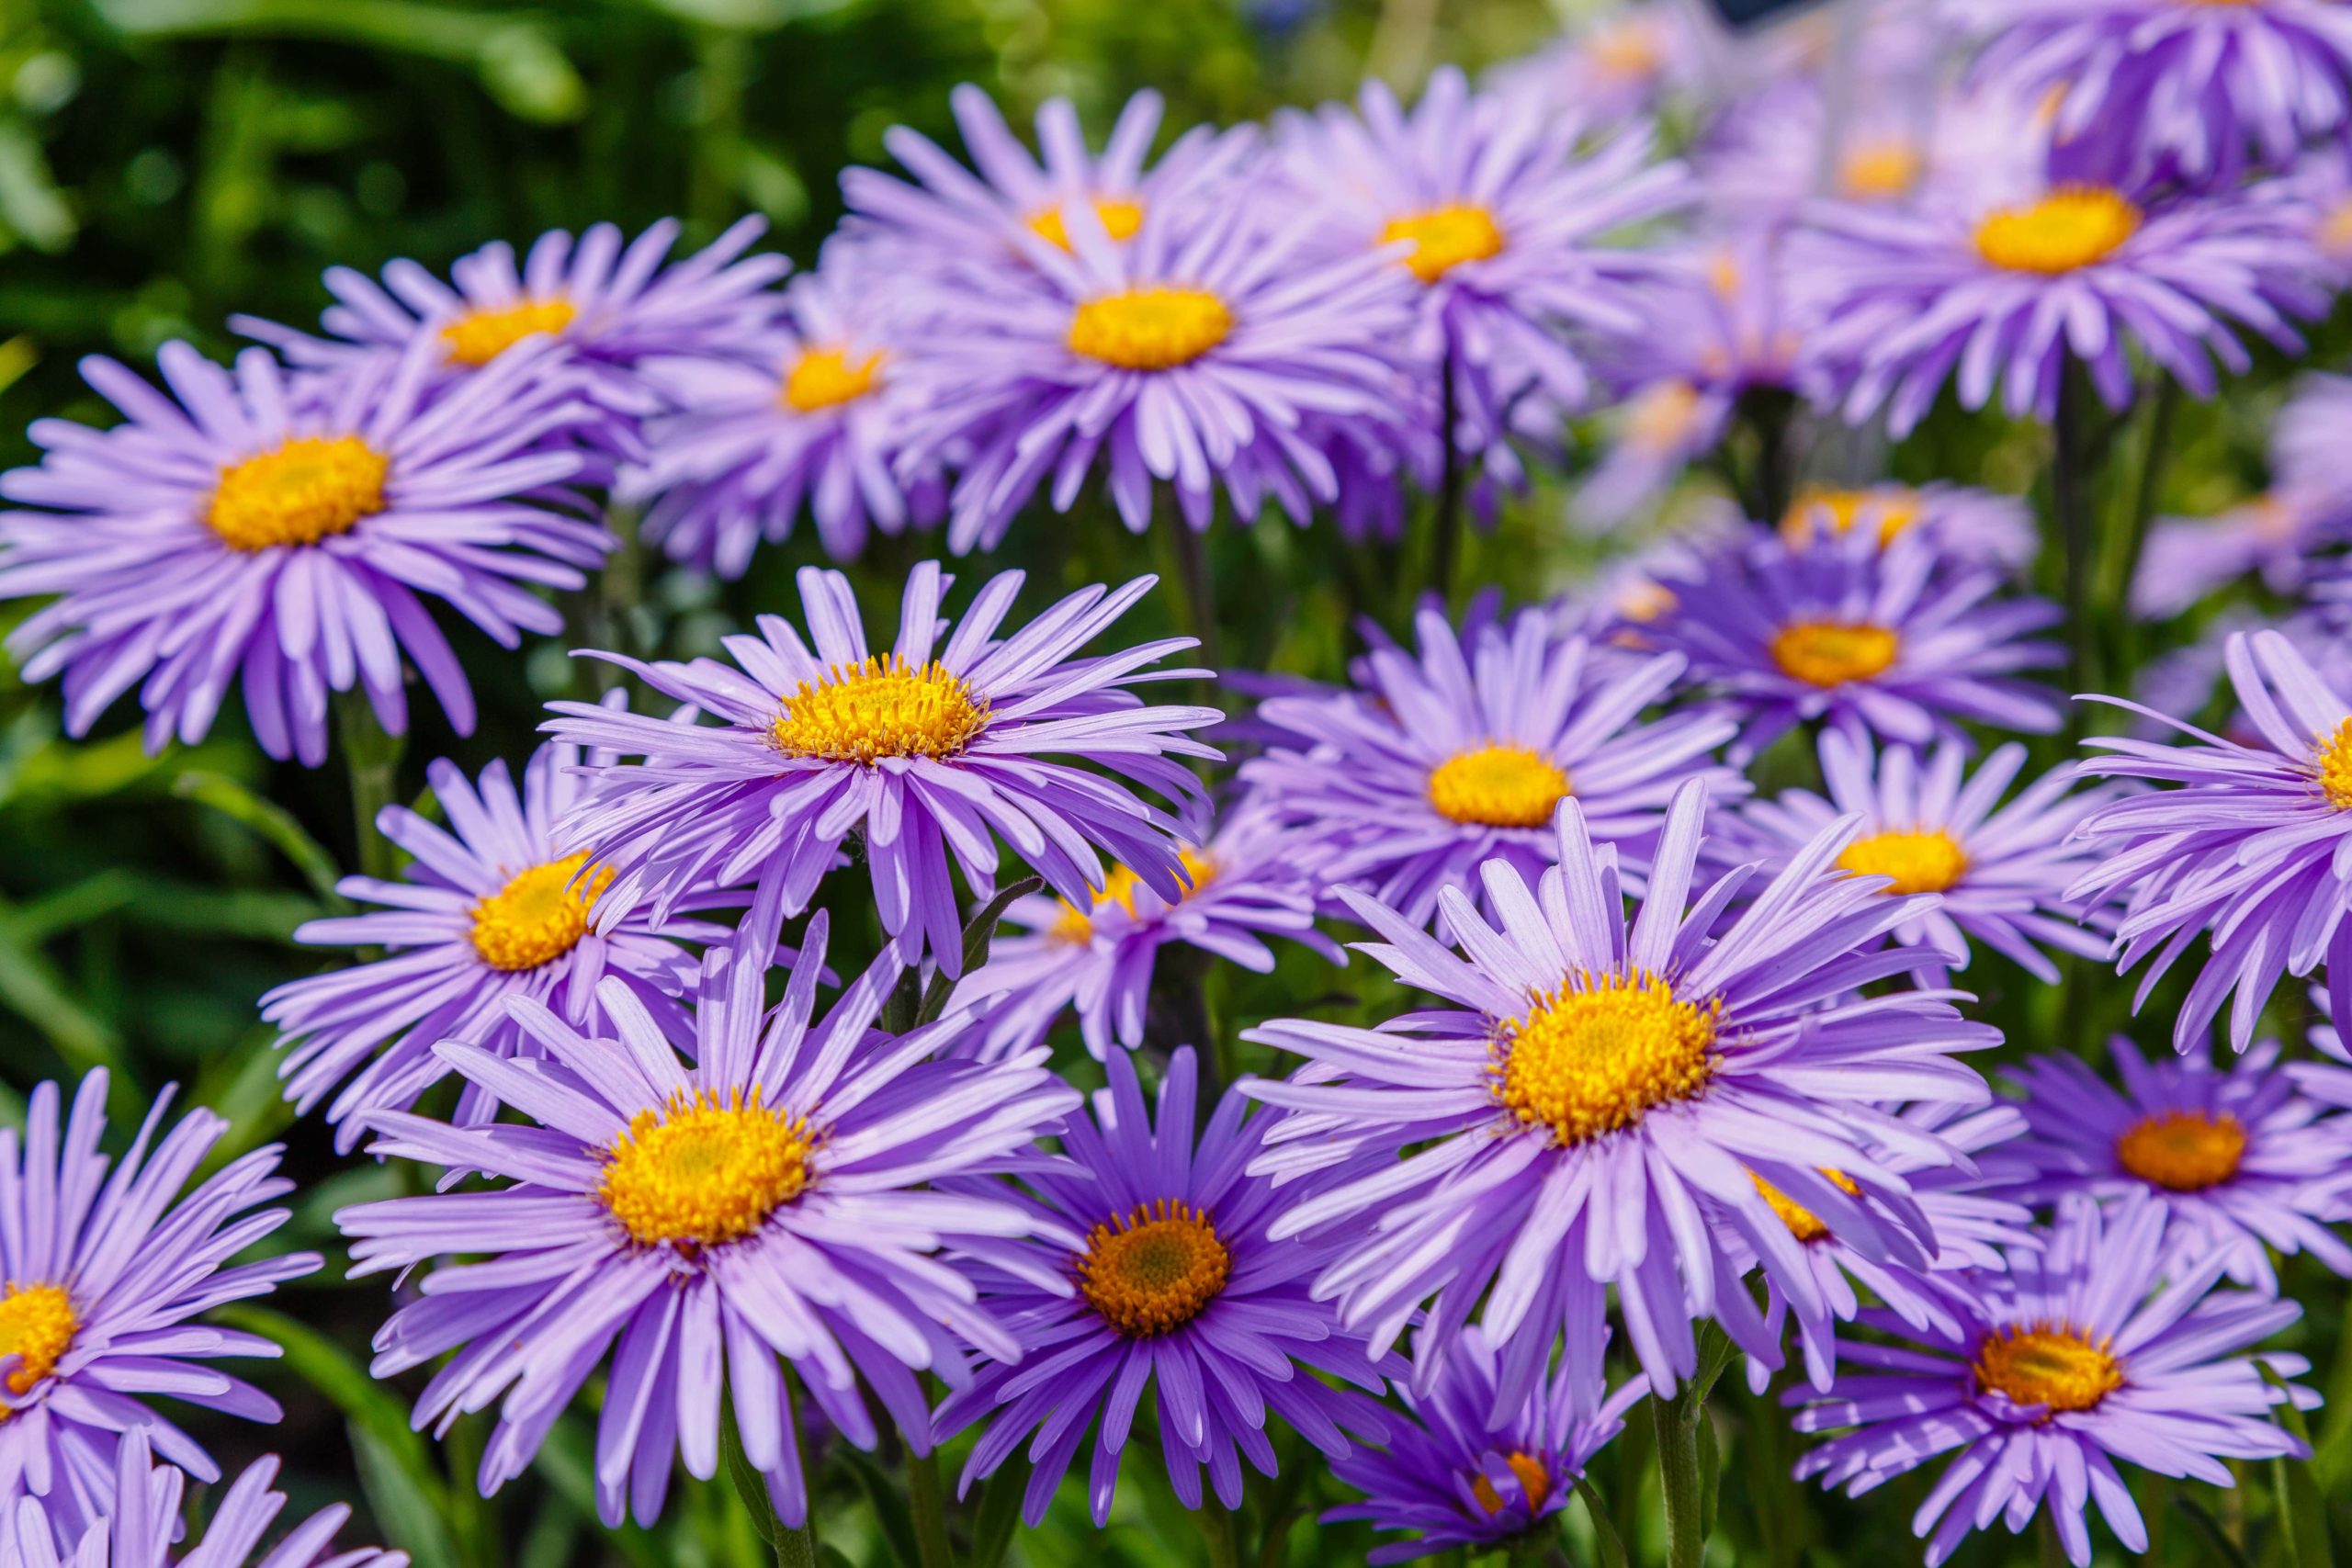
Asters
Asters require full sun and will last you through late fall. They can survive light frost and will add beautiful shades of blues, pinks, and purples to your landscape long after most summer flowers have died.
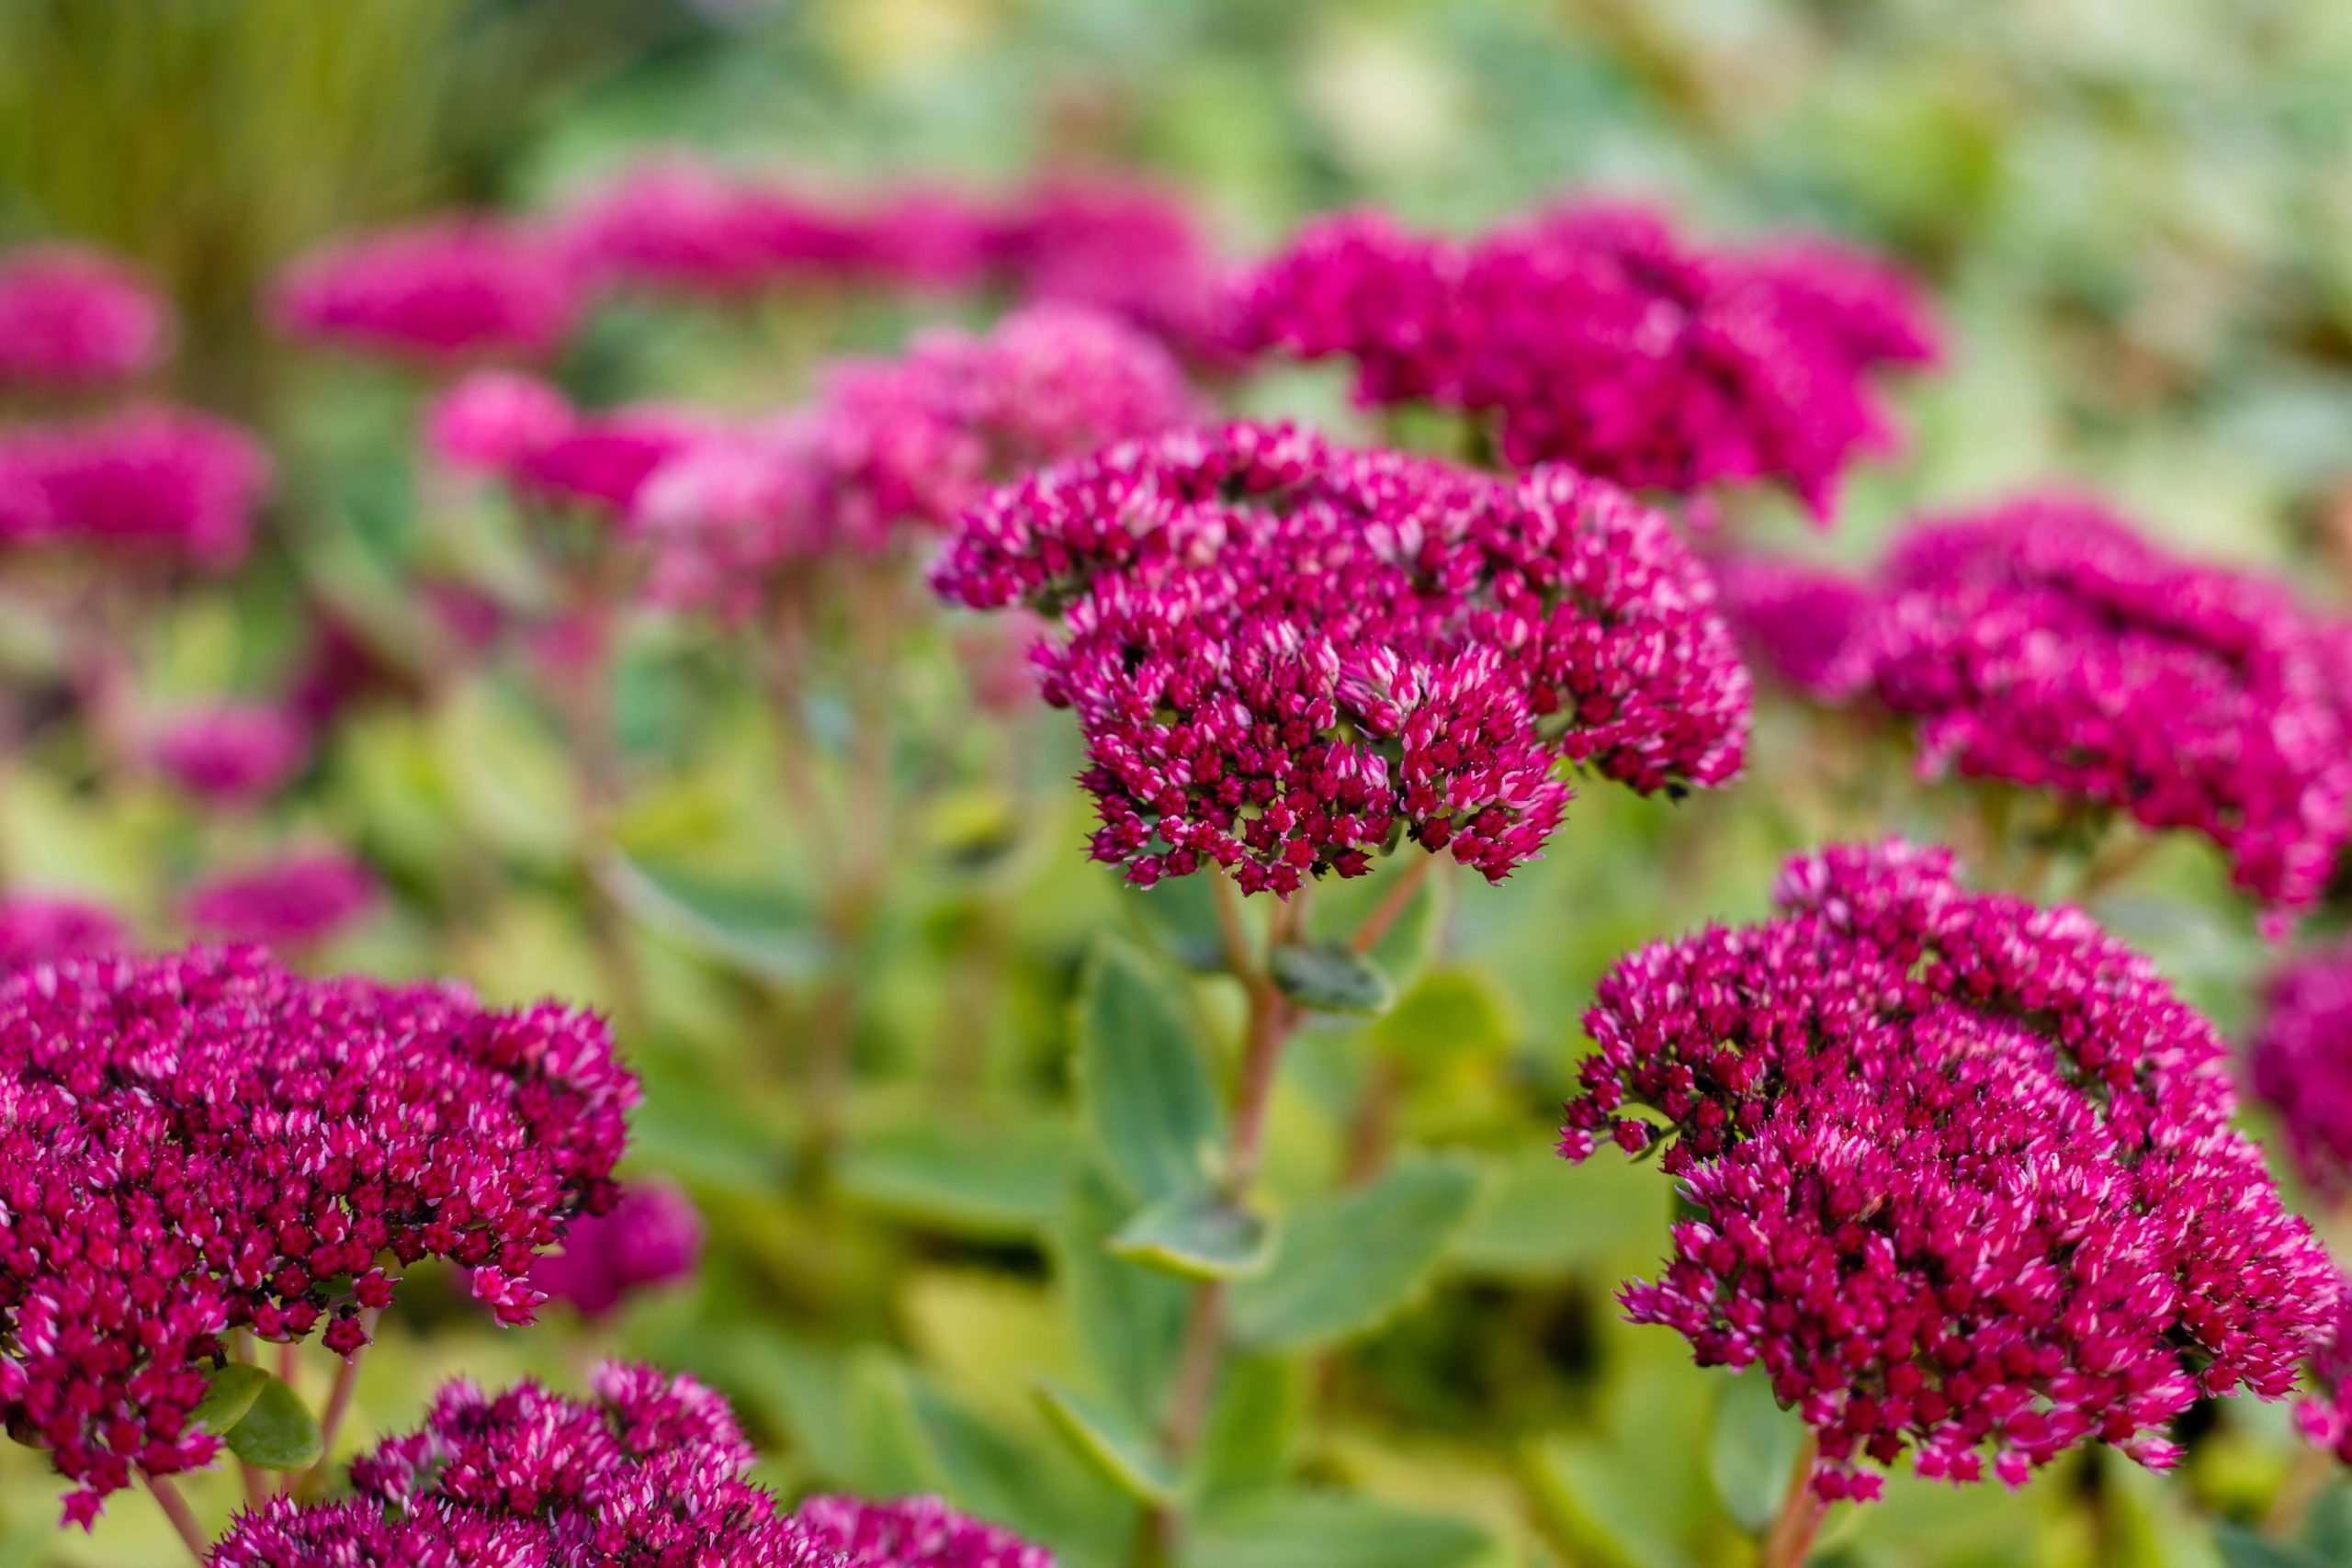
Sedums
Sedums require full sun and are drought-sturdy. They come in many forms from low-growing to upright varieties.
Foxgloves
Foxgloves are popular choices for cottage-style gardens. They grow tall and come in many different colors. They’re also great for attracting pollinators like butterflies and hummingbirds.

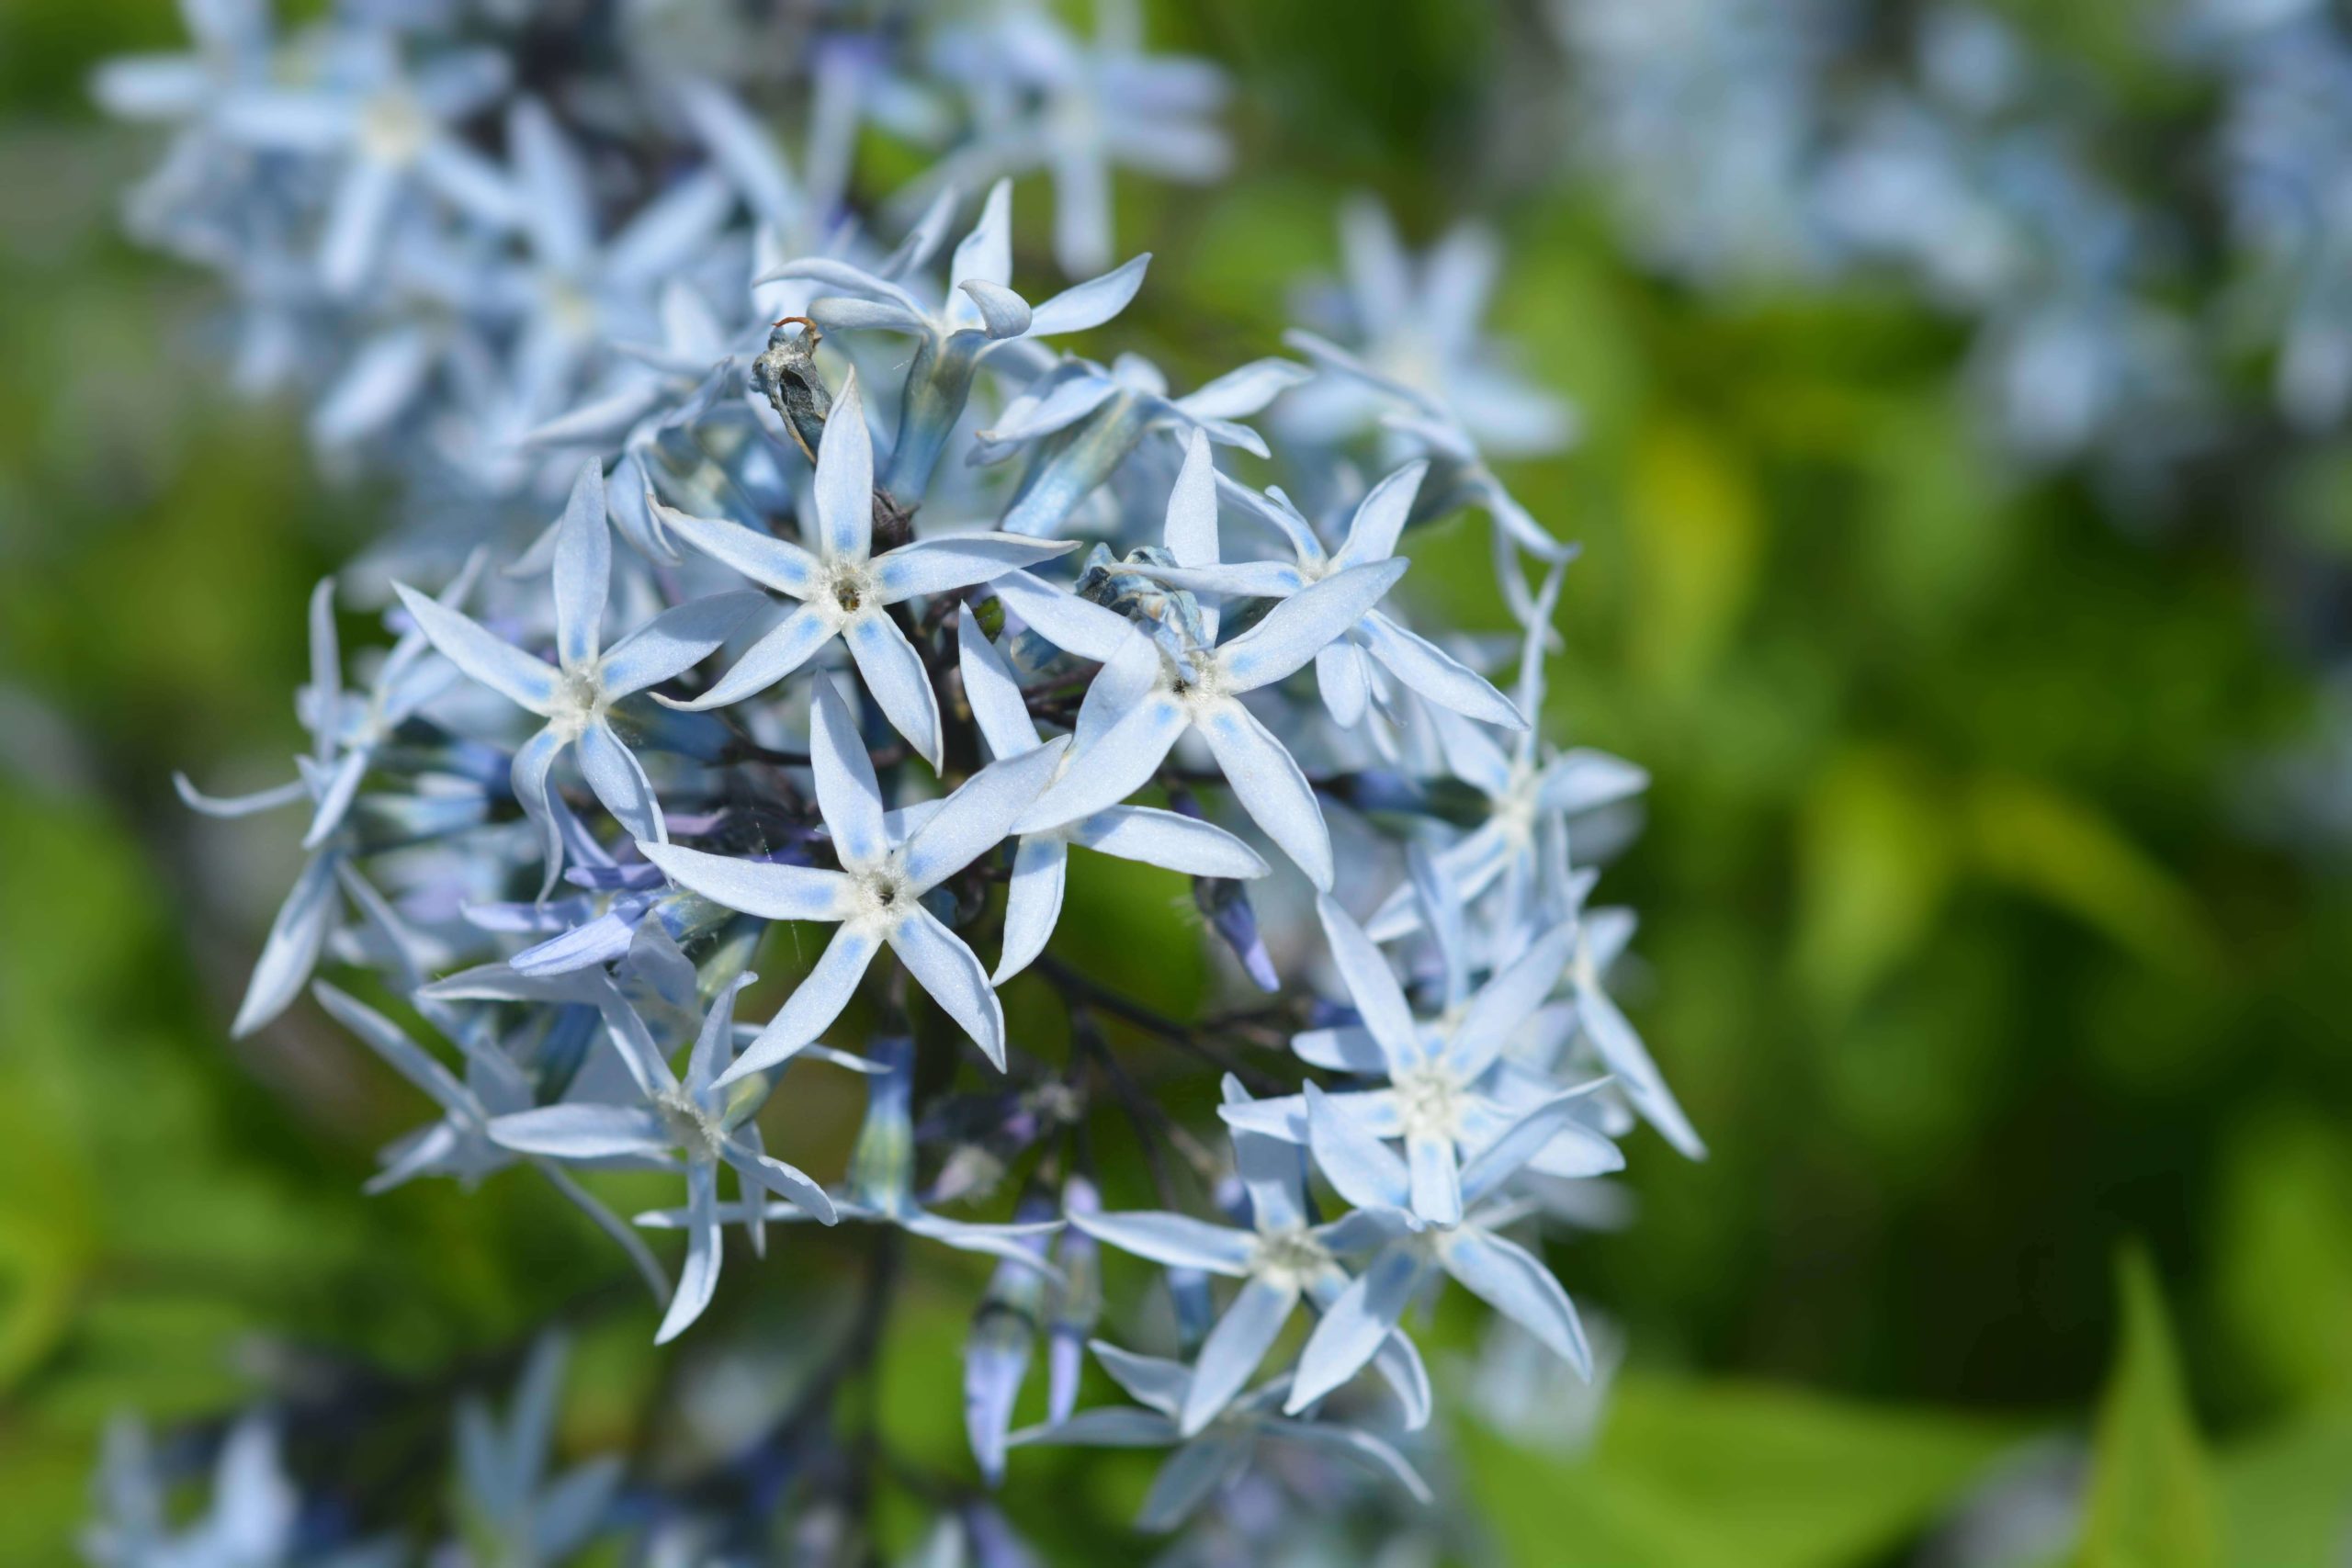
Amsonias
Amsonias look best when arranged in clusters. They require full sun and will last you from spring to the early summer season.
Want to learn more about choosing an planting perennial plants? Read our simple guide on perennials which includes the best time to plant perennials and explore more perennials to choose from.
10 Steps to Planting Annuals & Perennials
Whether you’re planting annuals or perennials, the steps to cultivating a successful garden are the same. Below, we’ve given you ten steps to follow when starting your garden this season.
1. Buy Your Plants
The first thing to do when starting your garden is to choose your plants. If you’re installing a new garden bed, you should assemble all the plants you’d like to use to ensure the process goes smoothly.
Whether you’re choosing annuals, perennials, or both, you can find an assortment of flower varieties at a Home & Garden center near you.
2. Prepare Your Soil
You should prepare your soil for planting a few days or even months ahead of time. Many gardeners prep their soil in the fall and follow with spring planting.
When preparing your soil, add as much organic matter to your planting site as you can.
This can include compost, dead leaves, mushroom compost, shredded bark mulch, bark fines, or composted manure. The organic matter will help create a base that allows your plants to thrive.
3. Plan Your Design
Next, you’ll want to plan your garden design. If you’re planting a bed, arrange your plants in their pots prior to actually digging the holes. You should do this a few days before you begin planting because it’ll give you a chance to change any parts of your layout that you don’t like.
Testing your garden and landscape design allows you to observe your layout at different times of day and from different vantage points.
4. Water Your Plants
As you prepare to dig your plant holes, make sure you water your plants thoroughly. This step is quick and simple but very necessary to keep them healthy before planting.
5. Dig Plant Holes
When you dig your plant hole, it should be slightly deeper than the pot it was originally in, and twice as wide. Before placing the plant inside, toss a handful or two of organic matter into the hole. If the soil in the bed is dry, water the hole before planting.
How many holes you dig and where you dig them will depend on how large your garden bed is. However, there are general spacing guidelines you can follow:
- Small plants: 6-12” apart
- Medium plants: 12-18” apart
- Large plants: 18-36” apart
If you’re planting in a large garden bed, be sure to dig each hole one at a time, rather than digging all the holes first and then placing the plants inside. That way the soil in the hole won’t dry up from being uncovered.
6. Tease the Roots
Before placing each plant into its hole, you want to tease its roots. This can be done by removing the plant from its pot and examining the root system. If the roots are thick and heavily conformed to the pot’s shape, break up the base of the root ball. Doing this will encourage new roots to form.
Once you’re done, toss any broken roots and soil into the planting hole, then add more organic matter to help the plant grow.
7. Check the Hole Depth
Setting your plant in its hole, check to make sure you have it facing the way you want. Then, position the plant in the hole so that it’s the same depth as it was in the original pot. Make sure you avoid burying the crown, which is the spot where the roots and stems meet.
A good way to test your planting depth is by laying a stick or tool across the hole from the surrounding soil to the root ball. If the stick or tool is level, then you’ve achieved the correct depth.
8. Fill the Hole
With the soil, you removed from your hole, add some organic matter as well as granular low-nitrogen organic fertilizer. Then, toss everything together and fill your hole halfway and add water to help settle the soil.
You can finish filling the hole by gently firming the soil around the plant. Just make sure you do so with your hands instead of your feet. Using your feet could damage the plant’s crown.
9. Water Your Plants(Again)
Once your newly planted flower is in its designated hole, soak the soil thoroughly. You want to water the plant enough that it soaks deep enough to reach the root ball. You’ll need to water your plants based on what type they are and your location. You can figure this out by doing light research on your particular plant and finding out your hardiness zone.
10. Add Mulch
The final step is to add some mulch to your planting site. You’ll want to cover your soil with about a 2-3” layer of mulch. Make sure you avoid piling the mulch against the plant’s stems or covering its crown. For more information on how to lay mulch, read our easy-to-follow guide on mulching your garden.
Adding mulch will help nourish and build the surrounding soil as it breaks down over time. You can choose from a variety of different mulches found at your local Home & Garden Center.
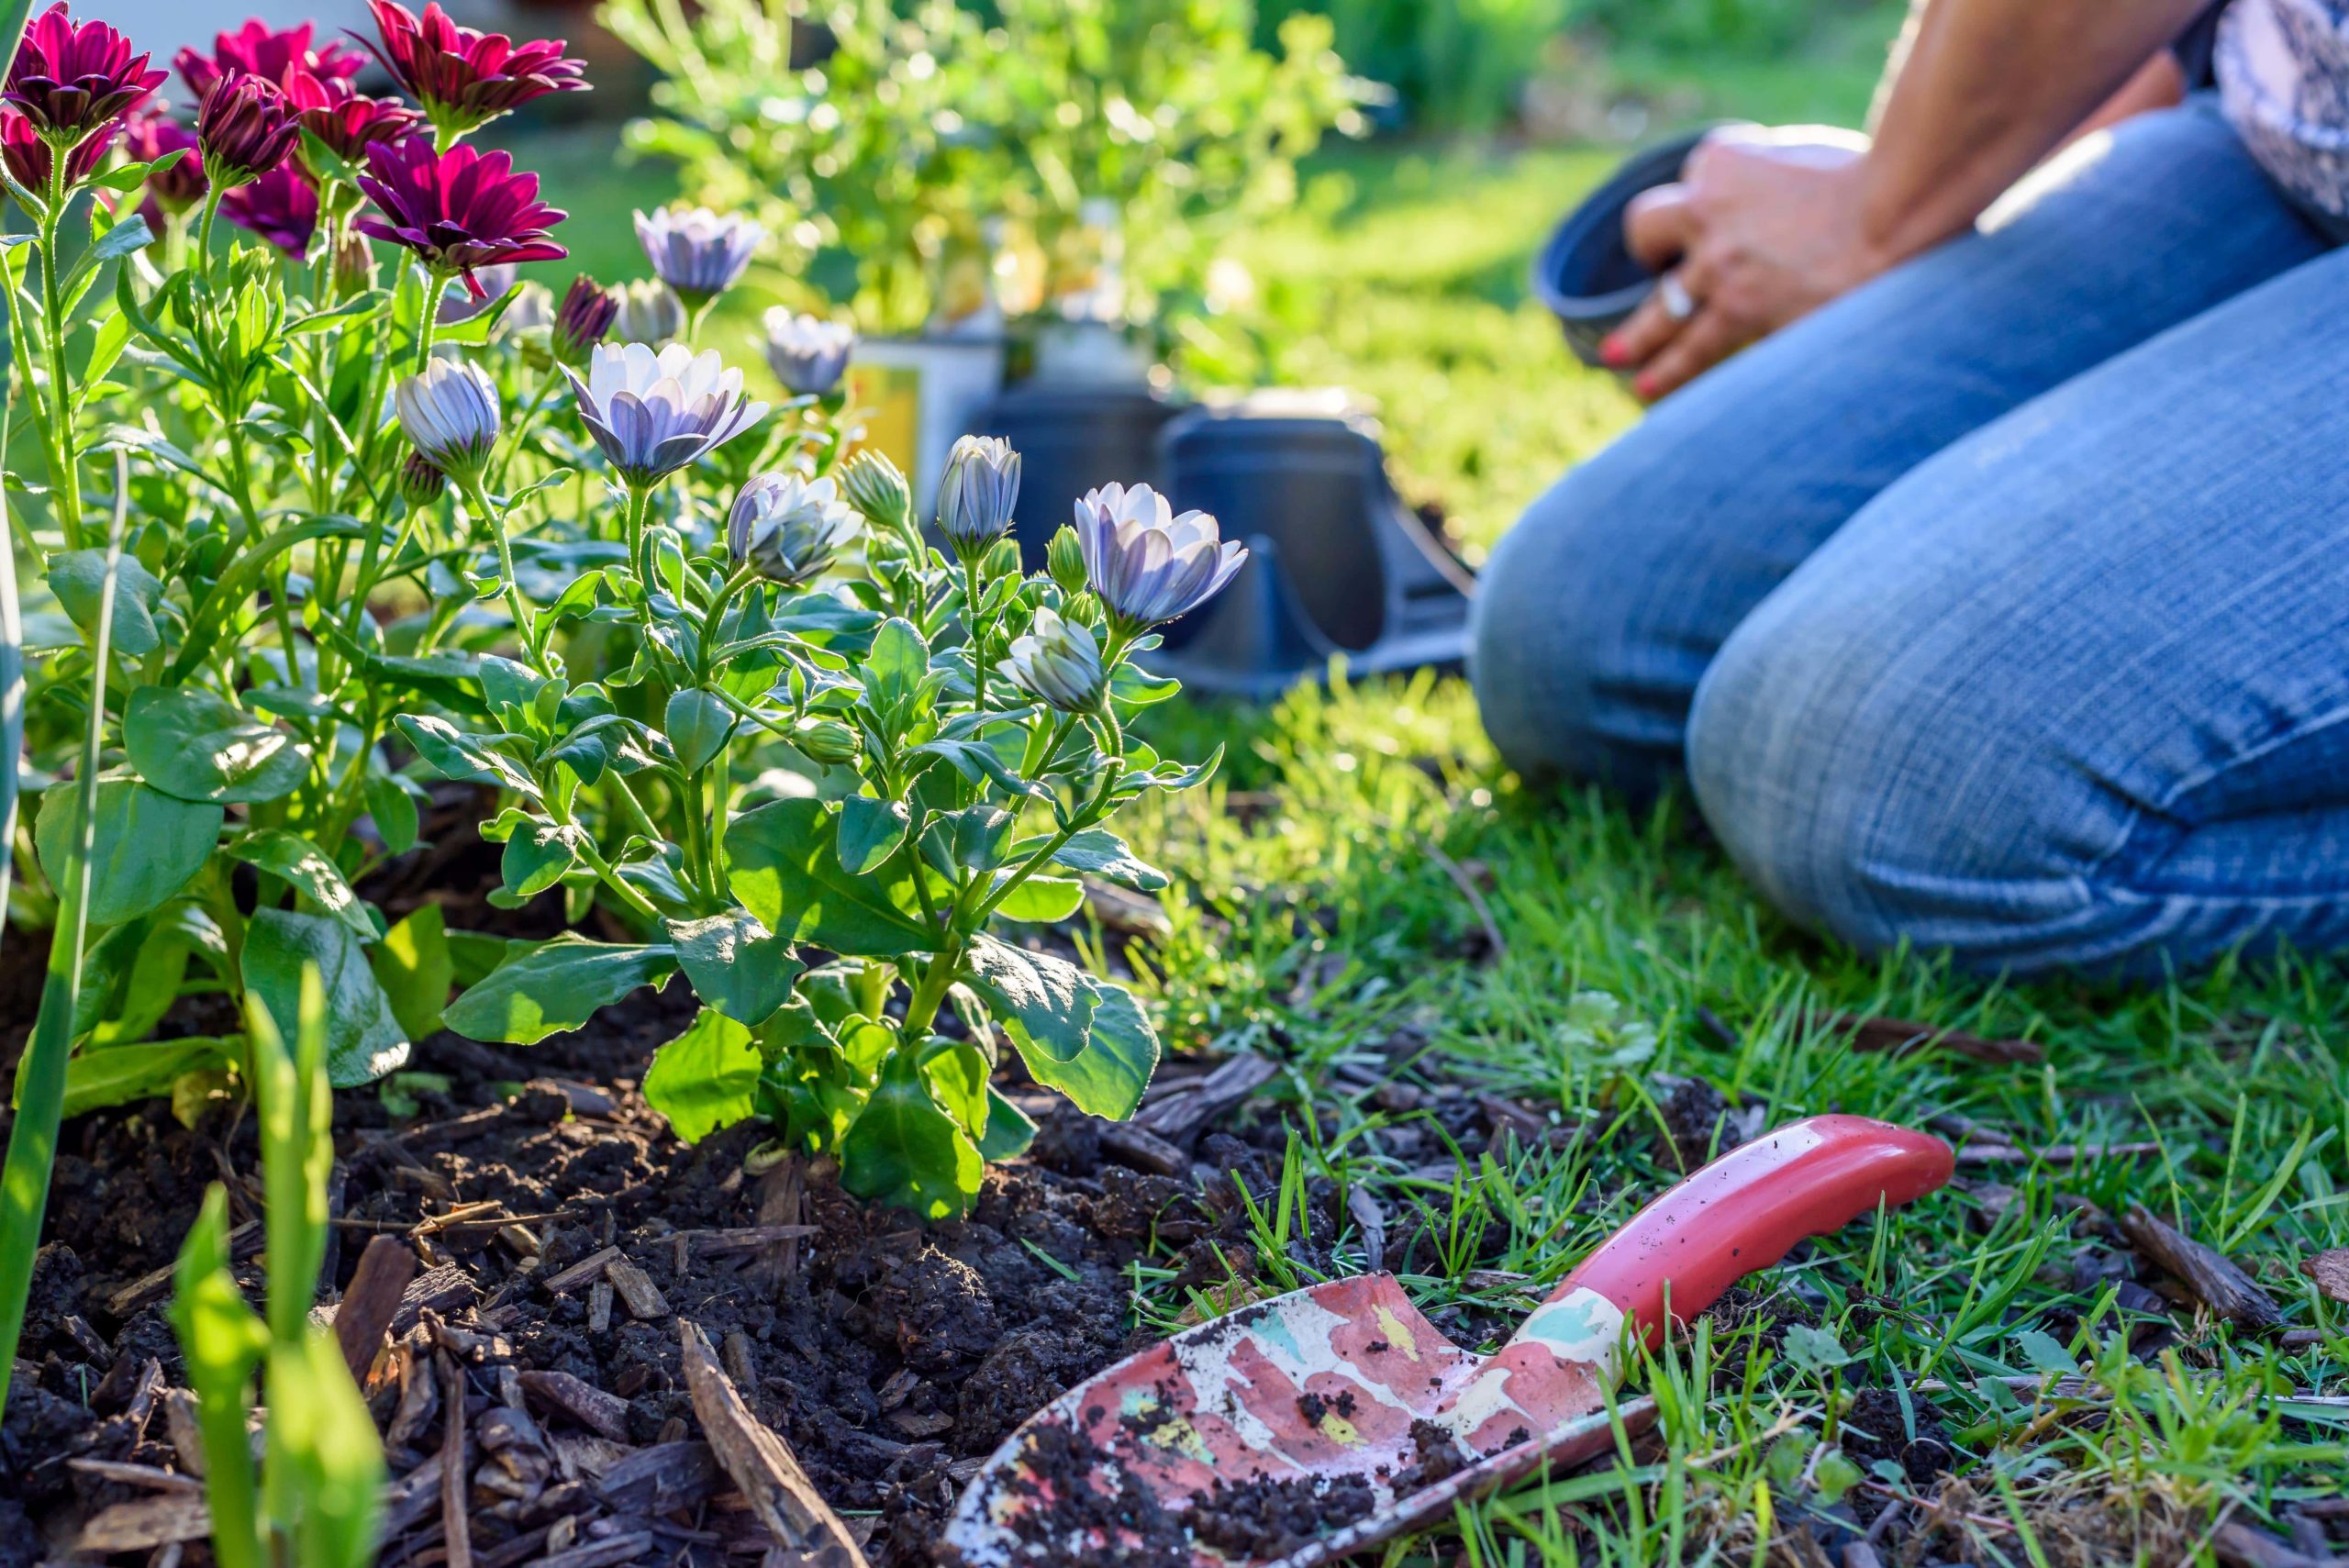
Understanding the difference between annuals and perennials can take you a long way in your role as a gardener and it’ll make your gardening seasons much easier.
Ready to start your garden? Visit our Home & Garden Centers to discover different flower varieties and seasonal plants you can begin planting today!
